Potatoes. A vegetable used as often in my house as many others. Many people tell me that they use a higher proportion of potatoes to other vegetables. In our household, that vegetable would be carrots (or peas). It is not that anyone here dislikes potatoes, everyone loves them. I just don't always think of the potato as a vegetable in its own right.
This year, for Ganesh Chaturthi, I made the entire amchi spread. We did our puja with somashe, modak, chakli, patrodo, dali saar, karatye ghasshi, phodiyo, etc. It was a huge spread for just us, but I went ahead anyway. One of the dishes that goes into this traditional feast is Batata Sukke.
1/2 tsp Fenugreek Seeds
1/2 tsp Coriander Seeds
1 tsp Oil
1/4 cup Coconut
3-4 Red Chillies
1 tbsp Tamarind Paste
1/4 tsp Turmeric
Salt to taste
For the tempering:
1 tsp Oil
1/4 tsp Mustard Seeds
1/4 tsp Asafoetida
7-8 Curry Leaves
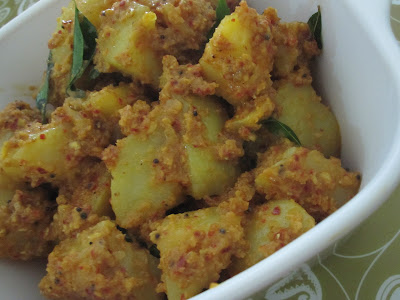
This year, for Ganesh Chaturthi, I made the entire amchi spread. We did our puja with somashe, modak, chakli, patrodo, dali saar, karatye ghasshi, phodiyo, etc. It was a huge spread for just us, but I went ahead anyway. One of the dishes that goes into this traditional feast is Batata Sukke.
1/4 kg Potatoes,
cooked, peeled and cubed
1/2 tsp Urad
Dal1/2 tsp Fenugreek Seeds
1/2 tsp Coriander Seeds
1 tsp Oil
1/4 cup Coconut
3-4 Red Chillies
1 tbsp Tamarind Paste
1/4 tsp Turmeric
Salt to taste
For the tempering:
1 tsp Oil
1/4 tsp Mustard Seeds
1/4 tsp Asafoetida
7-8 Curry Leaves
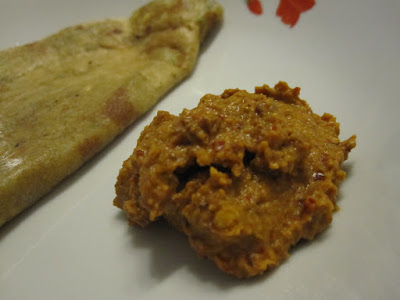
Heat the oil and fry the
fenugreek seeds and the coriander seeds for a minute. Grind this along with the
turmeric, tamarind, coconut and red chillies to a somewhat fine paste. Add salt to taste. Coat the potatoes with this mixture.
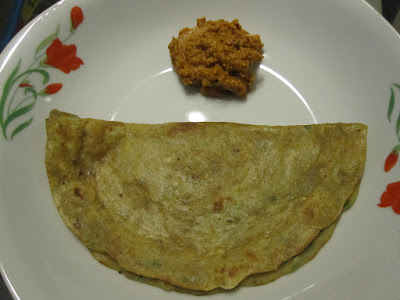
In a large pan, heat the teaspoon of oil for the tempering. Add the mustard and the asafoetida. When the mustard splutters, add the curry leaves. Add the potato mixture. Add a little water, if necessary. Cover and cook for 4-5
minutes. Unlid and cook for another 2-3 minutes. Serve hot with rice and dali-saar or chapatis.