I have often talked about my love for baking. I started baking a couple of years before I started cooking and so there's always been a soft spot for baking. Yes, there are the calories to think about. There's no running away from all that butter and sugar. Over the past few years, I have learnt to substitute oil for butter, jaggery for sugar, etc, in more recent times, I have rediscovered cakes with real butter. In one month, I baked 3 cakes, all of them pound cakes, and all with real butter.
I thought a lot about why I didn't like using butter. For starters, the thought of measuring the butter always put me off. First you thaw the butter. Then you measure it into a cup. That leaves you with a greasy spoon or knife and a greasy cup. Since I am not like the Food Network chefs who just dump the stuff in the sink, I, by sheer force of habit, have to use my hands to try and remove as much butter from the cup, the spoon and that leaves my fingers extremely greasy. I decided to be more organized, to keep soap and towels handy, and just take the plunge.
I was at the supermarket to buy some butter for these cakes. I found some brands that were sold in 250g packs. But I saw some others which were selling in 227g packs. I was a little irritated at first, but bought the 227g pack anyway. I came home and started to bake the cake. Was there a way out of measuring the butter? I ran a search to see how much half a cup of butter in grams would be. As it turns out, half a cup is about 115g. Voila! The 227g pack of butter was effectively 1 cup. I didn't have to measure the butter at all. I just cut my block in 2 pieces and allowed just one half to thaw. That was one more "happy to be living in Singapore" moment for me.
Enough about my well known love for baking. Coming to my well known love for blogging. I agree that this blog was a little abandoned in between. But I was baking the proverbial bun in my oven, so I was entitled to time off from blogging. As soon as I was able to, I resumed cooking. So, within a week of my delivery, I was dishing out at least one meal every couple of days for my family. And as soon as I could manage it, I resumed blogging too. There are many many reasons I love blogging. The biggest reason is the friends it has given me. And a couple of them are as close to me as some of the friends I have made in real life.
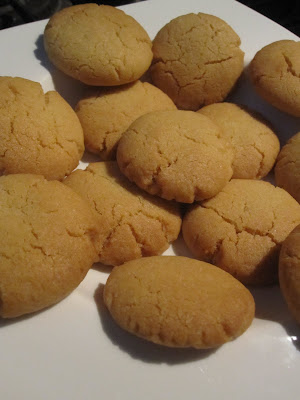
In 2007, Nandita and I were chatting and she told me about this mava cake she wanted to try out. She asked me if I would bake it with her. She in her kitchen in Bombay and I in mine in Gurgaon. It seemed like a terribly exciting thing to do back then. I had so much fun. Compating notes, choosing when to post it, and everything else. A couple of weeks ago, Arundati and I were chatting and she happened to be doing a lot of baking that day. I told her about how I was dragging my feet over a batch of chocolate chip cookies and she asked me to bake alongside her. So, there we were, she in Hyderabad and I in Singapore. She baking cupcakes and I making chocolate chip cookies. Even after 4 years of blogging, it still felt terribly exciting.
I mentioned, on Facebook, how much fun it was to be doing this, and before I knew it, the Baking Club gad been formed. Something like the Sisterhood of Traveling Cake Tins! My other namesake, Arundathi, and Aparna were also keen and we decided to celebrate summer by making pound cakes using mango. We picked recipes that appealed to us and made the cakes. This was even more exciting as there were more people involved and lots more notes being compared. So look out for more mango pound cakes in the blogosphere today.
I picked a recipe from the well known food blogger, Divya. Divya has given me so much happiness by regularly cooking stuff from my blog and blogging about it. She even dedicated one entire post to all the recipes she made my blog. I read it from time to time and always end up getting misty eyed. This is what keeps this blog going.
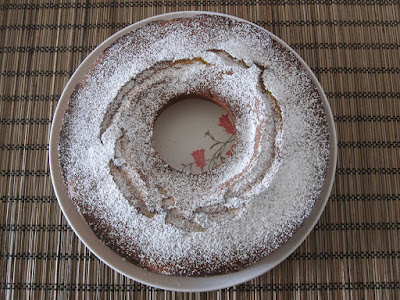
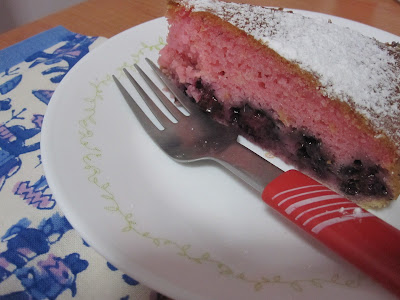
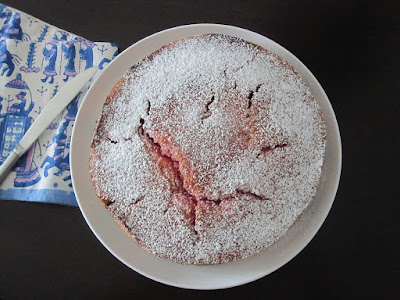
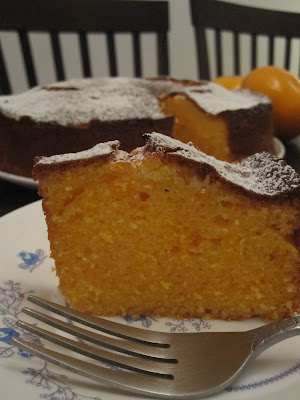
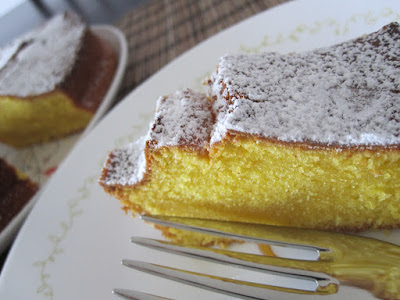
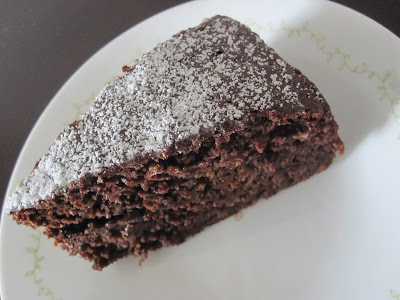
Divya blogged about her Mango Buttermilk Pound Cake a few days ago and I came across this recipe. This being a recipe that she adapted from Deeba's blog, I decided I had to try it. Two friends, one recipe. I can be sure of a hands down winner! I modified Divya's recipe even more and although I've been baking for almost 25 years now, I forgot to add the baking powder. Despite that, this cake was a winner all the way. The next time, I will add the baking powder, and I'm writing down the recipe here without excluding that ingredient.
1 1/2 cups Cake Flour
1/2 tsp Baking Powder
1/4 tsp Baking Soda
1/2 tsp Salt
1 tsp Cardamom, Powdered
1/2 cup Unsalted Butter
3/4 cup Sugar
2 Eggs
100ml Buttermilk
1/2 cup Mango Pulp
Icing sugar, for dusting (I used the canned variety)
Butter and Flour/Spray for preparing the cake tin
Sift together the flour, baking powder, baking soda and salt.
Preheat the oven to 180 C/350 F. Prepare a 10" round tin. (I used a springform ring mould.)
Cream the butter with the sugar until the mixture is light and fluffy. Add the eggs, one at a time, beating well after each addition. Add the buttermilk, mango pulp and cardamom and beat again. Incorporate the dry ingredients into the batter, adding a little at a time.
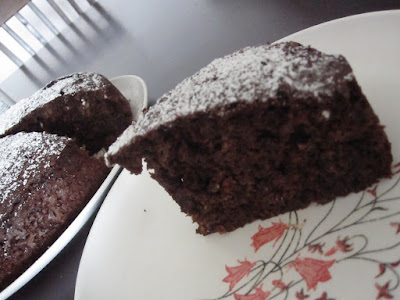
Pour the mixture into the prepared cake tin and bake for 30-40 minutes or until a knife inserted into the cake comes out clean. Allow the cake to cool a little and sieve the icing sugar over it.
Cut into slices when warm using a bread knife.
This cake was so good that S didn't really want me to share it with others. I, on the other hand, was happy to give the cake to friends because that way I could bake again. And I know I am going to keep baking this one, over and over again.